


Building painting training in 10 steps; How to paint our room?
Painting an art building is technical and simple at the same time. If you are aware of its tricks, you can easily change the mood of the interior decoration of the house. During the holidays or when you have enough time, you can work to make the space around you a better place to live by painting the house and creating variety. In this article, we want to tell you a few simple tricks about painting a building to learn about photofan painting walls, ceilings, bedrooms and other parts of the house. How to get along and prepare yourself for living in a house of your choice.
1. Check your ideas before you start painting the building
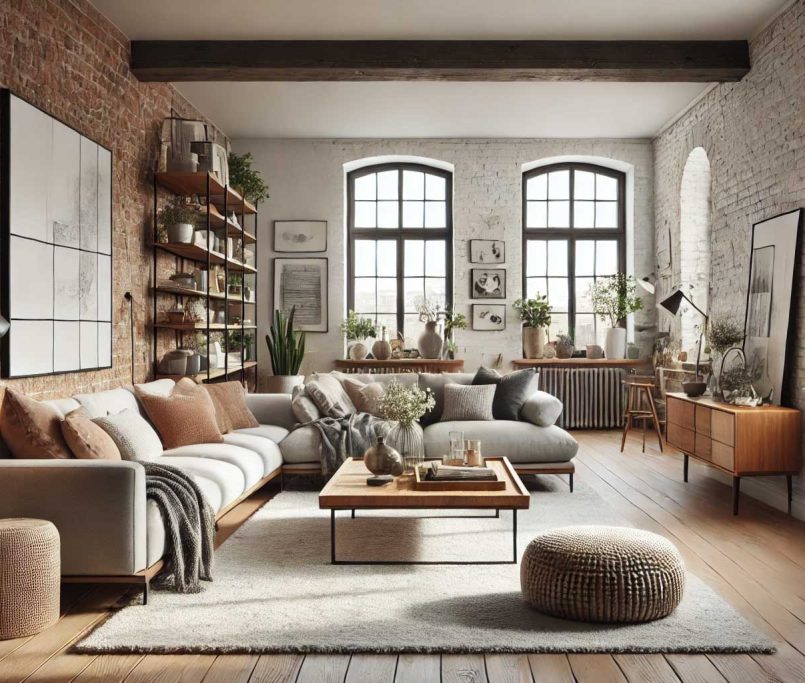
In the first step of painting the house, you need to know what design and idea is in your mind and you want each part of the house to have a new color and design. Before you begin, visualize the end result in your mind to make the choice easier for you. Do not forget that not all four walls of the house are supposed to have the same color. You can add a little creativity and courage to your work.
Determine for which part of the house you want to use bold designs in color and find the best design you want on websites and social media. In addition to painting the walls, go to the ceiling. Ask yourself do you like to vary the color of the ceiling and paint it differently from the walls?
2. Calculate the duration of painting the building
The amount of time you need to paint the building, the amount of space, your method of painting and the amount of skill It depends on what you do; For example, you need more time to use dark tonnage on the wall and paint the ceiling. It also takes longer to paint walls that need to be cleaned and smoothed before starting, than to paint a normal wall.
In fact, painting some spaces may only take a few hours, while others may take a few days. Be sure to set aside more time for your work than you think. Do not forget that the preparations for the start of work and the final cleaning take a considerable amount of time.
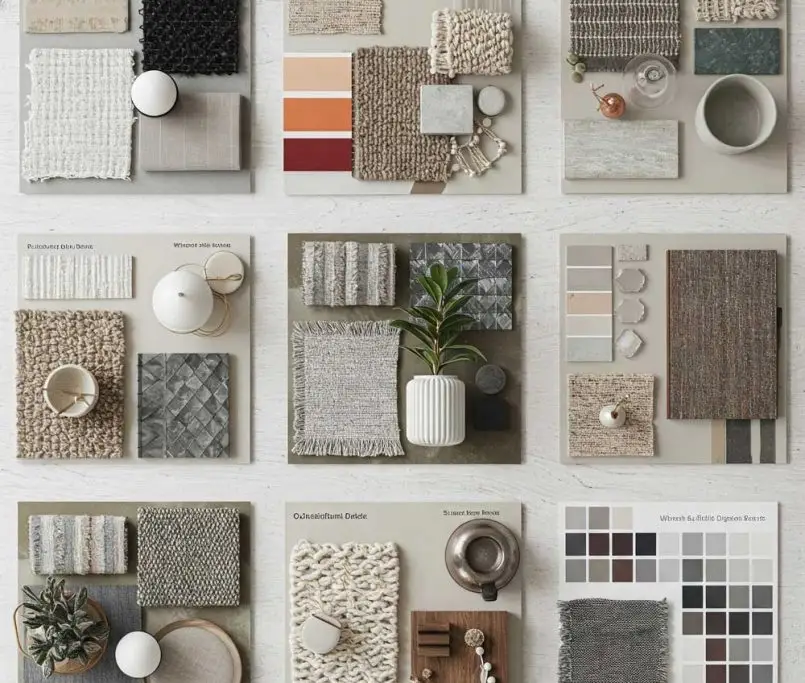
3. Choose the color you want

In the second step of painting the room and other parts of the house, you must choose the color you want. Decide from the beginning whether you want light or dark tonnage. Do you like warm colors or are you a fan of cool colors? Choose the tonnage you want according to the color of the home decoration furniture and furniture. Examine samples of the selected colors on the wall to see what they look like at different times of the day.
Many coloring companies have tools on their sites to help you choose the right color for your home; In this way it should be the space of the house and part of it If you want to paint it, take a photo and upload it on the site to see the different colors on the walls of this space before the performance.
Of course, these colors are slightly different in real life. For this reason, we again suggest that to ensure the quality of the result, before choosing the final color, paint a sample of your chosen colors on a small part of the wall to see what they will be like in different lighting conditions from morning to night.
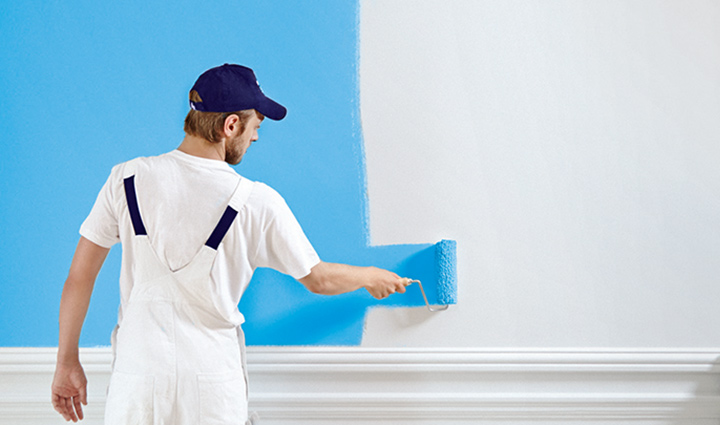
4. Choose the right tool for painting the building

At this stage of wall painting training, you should go to your work tools. You need to make different tools based on the color you choose and the condition of the house walls. Many of these tools are essential and you should get them before you start painting any building. These important tools are:
- Building Paints;
- Paint rollers;
- Coloring brush;
- Some unused cloth;
- Knife;
- Sanding;
- Color tray;
- Painting tape.
5. Specify how much paint you need
As a general rule, you need one gallon of paint to paint almost every 37 square meters of a building, whether the facade of a building or the entire walls of a room. Each gallon is equivalent to 3.7 kg, but sometimes varies up to 4 kg. Of course, this method of calculation is only an approximate rule and can not be accurately relied on. In the said amount, the color concentration should be high and of good quality. This amount of paint is also intended for a coating layer. To renew the layers of paint, you will definitely need more paint, and you will usually have to renew the paint 2-3 times.
When you are going to cover a dark color with a light color, the situation will be a little difficult and time consuming and you will need more cans of paint. If you need to paint parts with embossed textures instead of a smooth surface, you need more paint than smooth surfaces. In these cases, you should get about 10% more than the calculated amount for smooth paint surfaces.
6. Assemble the furniture before painting the building

Before you start painting your house, you need to get all the appliances out of your space. Take this furniture to another part of the house so that paint drops are not sprayed on them. If you do not have enough space to move furniture, you can gather all the accessories in the center of the room or living room and cover them with a few sheets of plastic. You should do the same on the floor of the room and cover all parts of the floor with nylon before painting the room. Never fail to do this and cover all the appliances and the floor of the room. Do not doubt that no matter how careful you are, drops of paint will still be scattered around.
Make a paint cover and cover the edges of the window, the wall frames, the bases of the accessories and the door frame with it so that the paint drops do not spoil their appearance. Remove the key frame and sockets and cover it with a paint cover.
Before you start painting the building Repair all cavities and scratched parts of the wall so that the result is smooth and even.
7. Mix the paint

Another step in learning to paint walls, bedrooms, ceilings, and paint is to constantly stir. Do this with a piece of wood. Stir the building constantly throughout the painting period. If you use more than one gallon of paint, be sure to put them all in a large bucket and mix together; Such a very small and possible difference in colors is eliminated by mixing.
8. When painting, have techniques for yourself

Your paint is mixed and ready, the rollers are in your hand, the floor and all the furniture are covered, and everything is ready to start painting the room; But before you start painting the rollers, you need to think about how to paint the house for yourself; For example, plan to paint the wall from the top of the room to the bottom, or before painting the wall, start painting the building from the ceiling.
One of the important points in wall painting training is to start with light colored walls and finish working with the focal and bold wall. Start with the walls You want them Cover with light color. Do not worry about light color spreading to the focal wall. The bold and final coating of this wall will not leave a trace of light color. After the light-colored walls have dried, cover their edges at the border of the focal wall by gluing the paint cover so that the dark color does not spread to them.
Start at the corners of a wall and work your way up and down. You can paint more space with rollers, but you can use a brush for areas that require little attention or are at angles.
When using rollers, it is best to move your hand W in a long way. In this way, you cover a larger space and the disturbing effects left by the rollers on the wall show less of themselves. After the first layer dries, start the next layer.
9. Do not forget the ventilation
Open the windows and turn on the fans so that you have good ventilation throughout the painting period and the paint dries faster. If the weather is humid when painting the house, the walls will dry later.
10. Do not forget to clean
Once you have finished painting your house, it is time to enjoy the results. When done, remove the paint covers from the dried parts and collect the dyed covers and fabrics. Clean colored brushes with oil solvent. If the colors latex And it is water based, you can use soap and water to clean them.
What other tricks do you think will work for home painting? If you are aware of home painting techniques, be sure to share your information with others.
wikihowarchitecturaldigest
.
[ad_2]
Building painting training in 10 steps; How to paint our room?